Surfing a New Spot: 10 Tips Before Paddling Out
Surfing new spots is part of the excitement and rush of surfing since we all want to roam and seek out new sights and adventures, especially as surfers.
Sometimes our local break can only offer so much, so looking round for new places to surf becomes part of the surf progression journey, but it’s also nice just to keep things fresh and find mellower waves, too.
However, paddling out at a new spot should not be taken lightly since many people get this wrong and, because first impressions really do matter in surfing, you don’t want to mess it up.
Make sure you check out a new surf spot from dry land for a good while before paddling out. Only paddle out when you are sure you’re at the right level and won’t be a danger to others. If you don’t think you can get waves, don’t paddle out. There’s always another spot and another day.
That’s the quick version but there’s still plenty more to think about if you’re going to try surfing somewhere for the first time, so let me give you my detailed tips on how to do right below.
Check for Currents
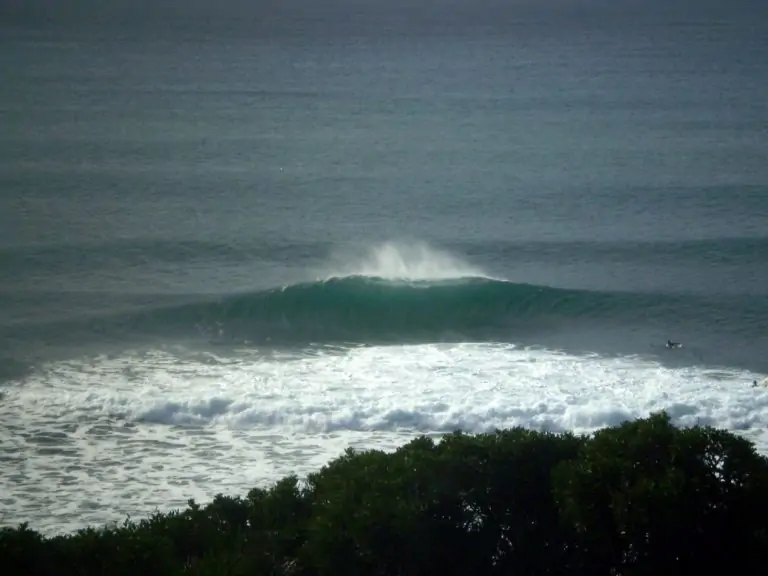
Every beach has its own quirks and currents and rips are one of the most overlooked things for surfers, not least because they’re hard to see.
To check a new surf spot for currents, first look from land at how the water moves and try to see if there are any spots with lots of ripples on the surface.
You can also sometimes see currents from looking at the surfers; they might be constantly paddling against the rip at some spots to stay in position, or use it as a conveyor belt to help them get out into position in the line-up.
You can also see currents in the surf by watching a single (and good) surfer who looks like they’re in a good position for a while and see if they’re constantly paddling. Keep watching until they have ridden a wave to see how and where they paddle back out.
Remember – any extra effort or little effort usually means that there are currents at play, so bear that in mind.
You might also be able to see currents mentioned on signs at the beach, too, so keep your eyes peeled for those and see what they say.
Gauge the Locals and their Vibe
Local surfers can behave in very tribal and aggressive ways to anyone who they don’t know or trust.
In some cases, like in the powerful waves of Hawaii, this is a safety thing where regulating the line-ups to keep people who are a danger to others out of the water is a must given the crowded line-ups.
You should get a vibe from just hanging around at the beach and seeing how the locals behave. If you try talking to people, you will get an instant idea of how ‘friendly’ people are, but don’t expect a friendly response first time!
I’ve also got a post packed with tips for how to surf a crowded line-up if you have no choice or want to paddle out and try it out.
Be Sure You’re at the Right Level
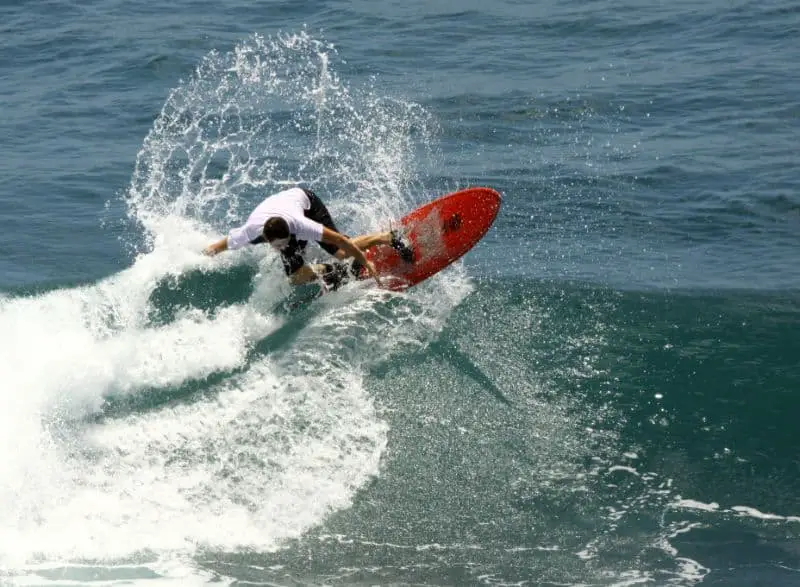
Surf spots come in many shapes and sizes as do the waves that break there.
Hopefully, you know that a reef break, surfing over rocks, is a more advanced surf spot compared to a flat, open sand-bottom beach break, but there’s still a range of waves on any given day at a beach break.
Before paddling out, look at the waves breaking and see what the general level of surfing is. If people are doing maneuvers way above your level, give it a pass and surf a quieter spot. However, if the level is similar to yours and it’s not too crowded, you’re probably good to paddle out.
Sometimes, you will want to surf spots that push your level but remember the difference between pushing yourself and being far below the level of others. If you are not ready, you will be a danger to yourself and others, and likely not welcomed back to your new surf spot.
Instead, take a long-term view and remember that you will be able to come back and surf an advanced surf spot when you are ready. Paddling out before you are ready will only make you unwelcome, so take your time and only paddle out when you are sure.
Make Sure the Tide is Good
Tides change rapidly and the surf conditions can change completely very quickly.
For instance, some spots that are world class at mid-tide might be non-existent at high tide.
Some learner spots can also have a nasty ‘shore dump’ at high tide, where the waves just break in shallow sand very close to shore, making them unsuitable for learning (and most kinds of surfing, really).
To get an idea of the tide for a new spot, have a look online for surf spot guides as most will say when the best tide is.
You can also get a feel from checking out the spot on a range of tides and seeing when others paddle.
This detailed guide I made will also really help you to judge the best stage of the tide for surfing at a new spot, or just your local wave.
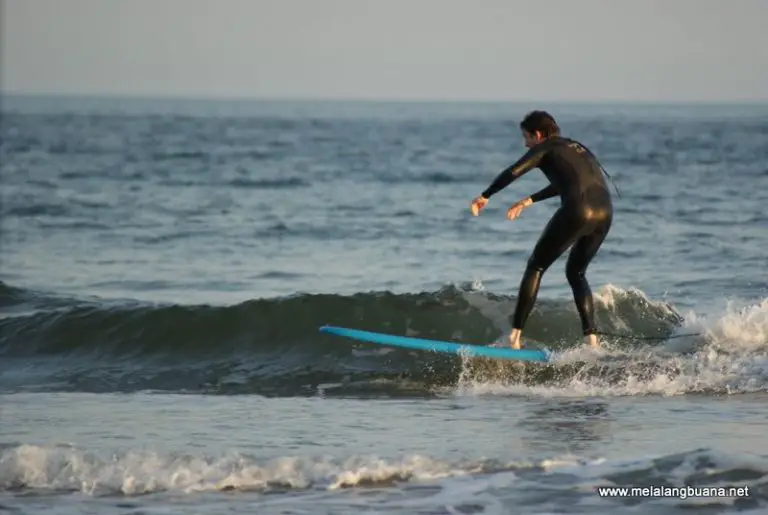
Estimate Wave Size
Watch the waves for a while from the beach and look at how the surfers compare with the waves when up and riding. If it looks intimidating, don’t paddle out! Waves always look smaller from the beach.
The worst thing you can do is rush out to surf a new spot and only realize later on that you’re in surf that is way bigger than you’re ready for.
This can again put you and others in danger but it can also knock your confidence if you just get hammered by the oncoming waves.
Take your time, look at it and reflect. You will know if you’re ready. Of course, there are times when it’s good to push yourself and surf bigger waves but you need to balance that with safety to help you progress in surfing properly.
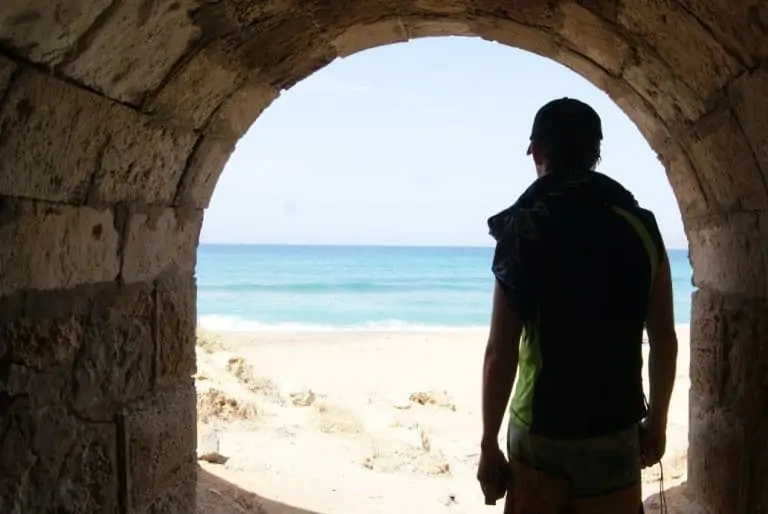
Scan for Rocks, Reefs or Shallow Spots
Scan the new surf spot from the parking lot or a good viewing point and look for rocks, reefs or any potential shallow spots in the line-up before you head out. This is best done at a low tide because paddling out on high might mean you don’t see some of the nasties lurking below the surface.
If you can’t go at low tide, you can still see signs of rocks and reefs by looking for irregular breaking waves. By this, I mean the kind of waves that break abruptly or just dump as that is usually a sign of an extra shallow bottom.
If other surfers are staying away from a particular peak, then it’s usually for good reason and you should, too! Of course, on a wide open beach break, this might just be because they don’t want to walk further, but for anyone other reason, follow the crowd and surf another peak.
Spot Your Place to Paddle Out
The ‘channel’ in surfing terms is where you can paddle out without going right through the breaking waves. This is usually to one side of the main peak and, in some places, can mean you can get to the right spot without getting your hair wet!
To paddle out in the best way, look for channels and again keep watching what others are doing. You might be able to use the channel to help you get back out after catching a wave, maybe even paddling sideways to get out of the impact zone and have an easy paddle back out.
What you want to avoid here is paddling out straight through the impact zone, where all the waves are breaking. This will sap your energy and is also the most dangerous way of paddling out in surfing.
Instead, decide on where you’re going to paddle out, pick your spot and do it. Not all spots, especially beach breaks, have a defined channel but use them where you see them to make your paddle out much easier.
Know Your Exit
Have an exit strategy in mind before paddling out at a new surf spot because sometimes things can get confusing and you can lose track of where you are, especially in bigger waves or more crowded line-ups.
There might also be one way to get out and you need to know exactly where and how to do this.
A notorious surf spot for this is Uluwatu in Bali, Indonesia and its notorious ‘cave’ entry and exit point. The first time I went there, a friend told me before paddling out, “aim way over to the right of the cave when paddling in because of the rip”, and he was exactly right!
The rip at ‘Ulus’ pulls you down along the coast at a frightening speed, so you really have to plan on how you will get out and know what you’re doing. It’s one of the most extreme surf spots for this reason.
Missing the cave at Uluwatu means doing another circuit of paddling back out, waiting to catch a wave (and you will have to wait with those crowds!), likely getting a few waves on the head, which can be downright terrifying if it’s a decent size.
The only other exit from ‘Ulus’ is then paddling down the coast towards Padang Padang which, although not that far, then means a heck of a paddle and avoiding the waves over razor sharp reef and rocks, not pleasant if you don’t know what you’re doing!
So Ulus is an extreme example, but hopefully you get my point. You need to know if there is any issue with the paddle in before paddling out.
Some point breaks can have rips that are so strong that it makes it almost impossible to paddle back out against them, meaning you might even have to do a circuit of getting out and walking back up to the take-off spot, but this is usually for more advanced spots only.
The channels to help you paddle out, as mentioned above, can also have rip currents (or ‘rips’) so think about what you will do if you get find yourself in a rip current in the channel. The best is often just to paddle sideways into the breaking waves and either catch one or belly ride in to safety.
Wax Your Board EXTRA Well!
This sounds almost cliché but I can tell you, I’ve paddled out into crowded spots that are new for me with really slippery wax because I was in such a hurry to get out there.
Having a poor wax job on your board means you will find it hard to stay on it. It will also increase your chances of falling off when up and riding, which won’t help with those first impressions we talked about earlier and is again dangerous.
As such, always take the time to do your wax properly before hitting the waves at a new spot because it will make you safer, give you more confidence and mean that you don’t have to paddle back in to do it!
Make Sure Your Leash is Good and On Extra Tight
Again, this might sound obvious, but your leash is effectively your lifeline when you fall off your surfboard.
Before hitting the waves at a new spot, make sure you put your leash on tightly just above the ankle to stop it moving around. Put it on when wet for the best fit and be sure to get rid of any sand in it as that weakens the Velcro’s hold when pulled by a wave.
If the Velcro is looking fluffy or fuzzy and not making a loud sound when you undo it, it’s probably time to change your leash for a newer one.
If your leash is older, definitely consider changing it as they do break after lots of use. I’ve had a leash break after a wipeout while surfing in Indonesia and nearly drowned as a result, so don’t take this lightly.
This generally only happens in more powerful waves but your leash cord, that little bit of string that attaches your leash to your leash plug in your surfboard, can also deteriorate over time so check that for any signs of wear, too.
From here, definitely check out my ultimate surfboard leash guide to make sure you have a good quality leash that is right for your surfboard’s length.