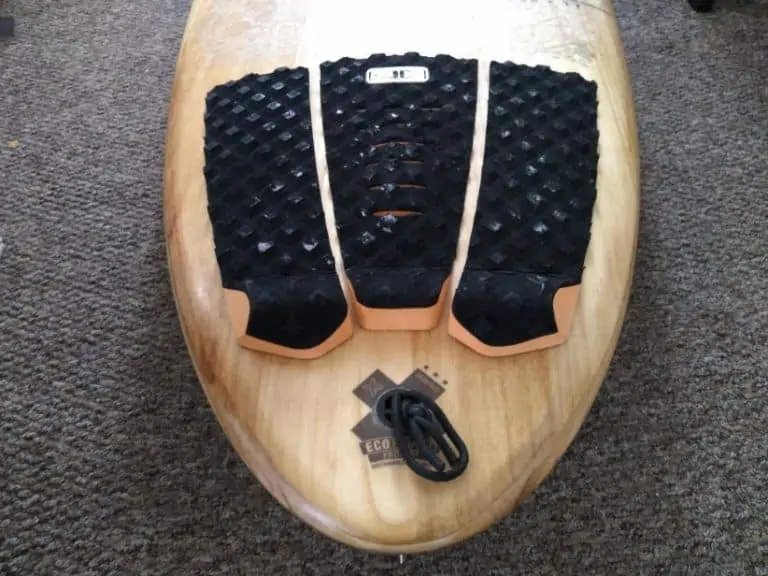
How to Remove a Traction Pad from a Surfboard
I can tell you that you can remove a traction pad from a surfboard but it takes several hours and is hard work.
I once placed a traction pad too far up my shortboard and could not turn it properly as a result, something I did not realise for a few years and which might have slowed down my surfing progress. I then had to change the pad which was slow going but also a learning process.
To get a traction pad off your surfboard, you will first need a non-sharp knife like a butter knife (or similar blunt instrument), a sharper knife like a Stanley, your hands, some sandpaper and some cleaning agent like white spirit and damp rag or towel.
To remove your traction pad, run around the edge at the base of the pad with a knife that is not sharp. Then gently pull the loose parts of the pad with your hands. Keep your hands close to the board and keep pulling, trying to peel it off in one go.
The last bits of the traction pad and glue need careful work with a sharp knife and then white spirit to get rid of the glue and any remnants of your old pad.
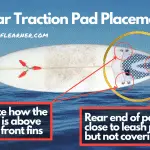
PS Check out my step-by-guide guide to perfect traction pad placement if you are unsure where to put your next traction pad on your surfboard!
Restick Your Traction Pad If Possible
Before I go any further, I’d be remiss for not saying that you can try to re-stick your loose traction pad.
I say this because removing a traction pad is a lot of work and involves ultimately buying another traction pad, whereas re-sticking is much less costly and only needs a few minutes of your time.
Re-stick your pad using high-quality glue if the pad is just peeling slightly in a corner or one side. Pull up the pad and scrape off the glue with a wax comb or old credit card, then clean it with mineral spirits. Dry the area, apply your pad with glue on it and press down for a minute.
If you need any of the above, here are some good quality options for them on Amazon:
- Gorilla Glue from Amazon (or similar brand fine)
- Wax comb
- Mineral spirits
Remember: don’t use the board with your newly re-stuck traction pad for at least 24 hours if you want it to last.
Not fully convinced? If not, below is how to fully remove your traction pad!
Removing a Traction Pad from Your Surfboard
Now, let me explain that in more detail to make sure you get that stubborn traction pad off your surfboard correctly!
I know I struggled to get the traction pad off my surfboard the first time I did it so here’s all that I’ve learned to save you time and hassle.

The reason for using a knife that isn’t sharp (like a butter knife) to take your traction pad off your surfboard is because you do not want to inadvertently cut into your board. This kind of knife will not make any cuts into the board but can help to loosen your traction pad, making it ideal
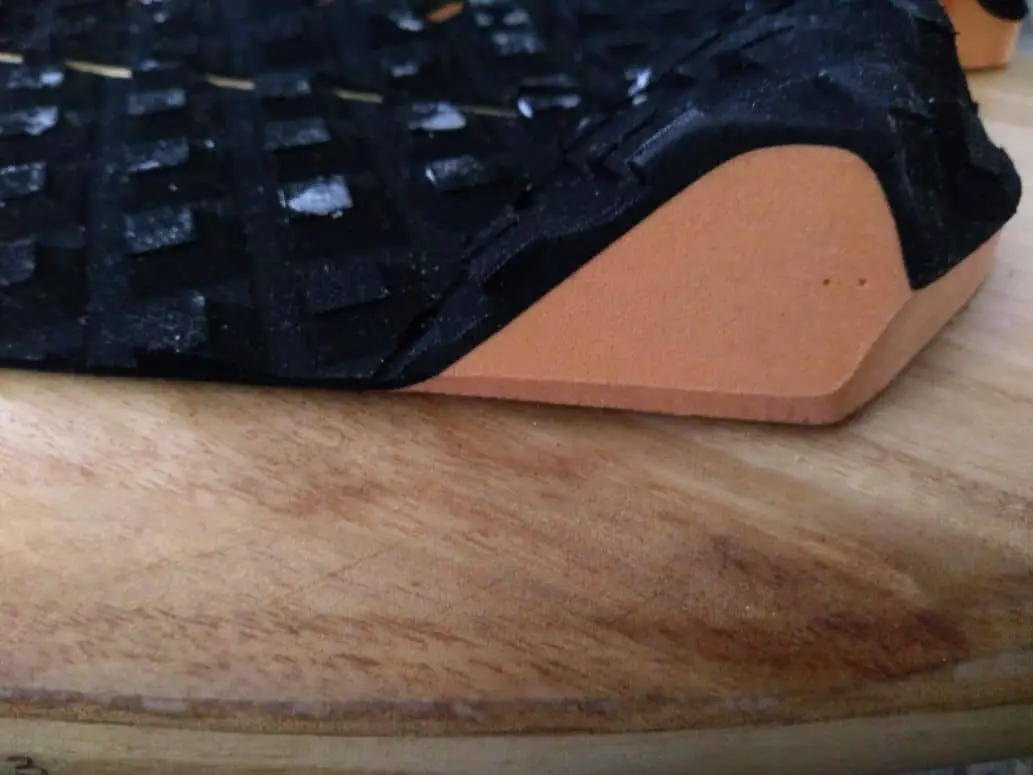
When you have the pad loosened, pulling with your hands is the next step since it means you are literally peeling the pad off like you would a label on a food jar. This also means you will almost always be left with some glue after you have done it.
Keeping your hands as close to the board when peeling off your traction pad is the best way to do this since it means you are more likely to pull the pad in one complete piece. This means less work scraping remnants of the pad and bits of glue.
After this, use a sharp knife, like a Stanley knife (Amazon), to cut back any large lumps of traction pad material remaining. Get these down as low as you can safely but be careful here not to puncture or cut your board. This will be the most delicate part so take your time and don’t rush.
Getting a traction pad that has several pieces off your surfboard is unfortunately a longer process since you will have to repeat the above process each time for each piece! The smaller the piece of the traction pad, the more work it is to remove.
To clean the glue off from your removed traction pad, the best option is to use a medium to fine sandpaper or sanding block to rub it off slowly. Once done with the sanding, then apply white spirit with a damp rag and rub it over the glue. Check in good light that all the glue is gone before finishing.
Cleaning with sandpaper and white spirit is also recommended for applying a traction pad to your surfboard, so it can help to prepare for the next pad you want to put on because you will have to do that anyway, so it’s not time wasted.
From here, if planning on attaching another pad, I’d recommended you check check out my beginner’s guide to perfect traction pad placement to make sure you get your next traction pad on your surfboard!