Perfect Traction Pad Placement: Guide for Surfers
Getting a traction pad for your surfboard is a really helpful way to add grip and to take your surfing up a notch.
Although wax works well for grip, many surfers like the feel of a traction pad underfoot for the added grip.
However, when it comes to placing it on the board, there are a few key questions to answer.
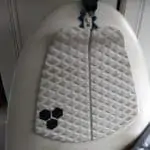
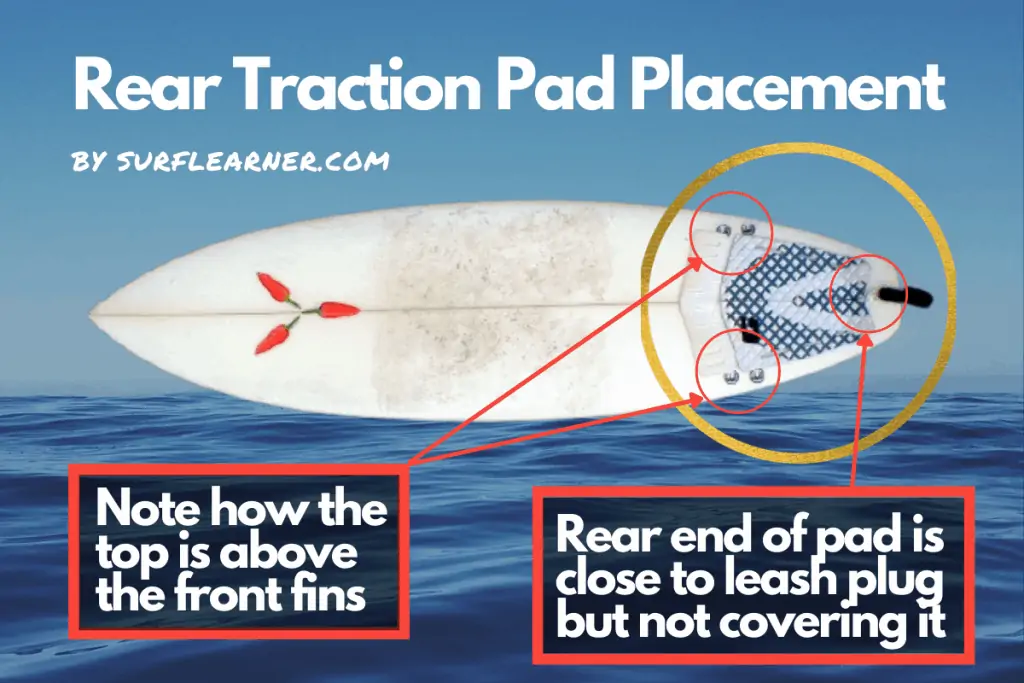
So, what is the best traction pad placement? Put a rear pad just starting just in front of the leash plug, leaving some room for the leash to come up from the plug. Make sure it is straight and central. There are a few finer points to cover, as we’ll look at below.
If you are interested in checking out the best surfboard traction pads, you can find my personal recommendation, pads made by Da Kine on Amazon here.
Da Kine is an excellent and reliable surf hardware brand out of Hawaii. You can’t go far wrong with any of their traction pads but make sure you get a pad that suits your board and the position (front or rear), as explained below.
To start off, we’ll look at general traction pad placement tips, then we’ll move on to rear traction pads (or ‘tail pads’) as these are by far the most common. From there, we’ll then move on to cover some points on front traction pads, too.
Let’s get stuck in!
General Surfboard Traction Pads Placement Tips
Keep it Central and Straight
You will want your traction pads to be aligned with the center of your surfboard.
This will mean that they do not inadvertently go off the side of the board and also that they give you the right grip according to the angle of the board.
If your surfboard has a visible stringer down the middle (usually brown as they’re traditionally made of plywood), then you can use that as your central point to align the traction pad with.
If your board is one of the more modern composite technologies and doesn’t have a stringer, not to worry – doing the next step should still be enough to prevent things going wrong.
As many of the traction pad instructions will say, you will also want to place the pad on the deck of your surfboard and mark its placement with a pencil before peeling off the cover and gluing it on.
Really this is a case of marking the four corners of the tail pad, as well as the center of the rear part of the pad and the center of the front part of the pad.
Having all 4 corners mapped out and straight should mean that you are able to put your traction pad on perfectly without issue.
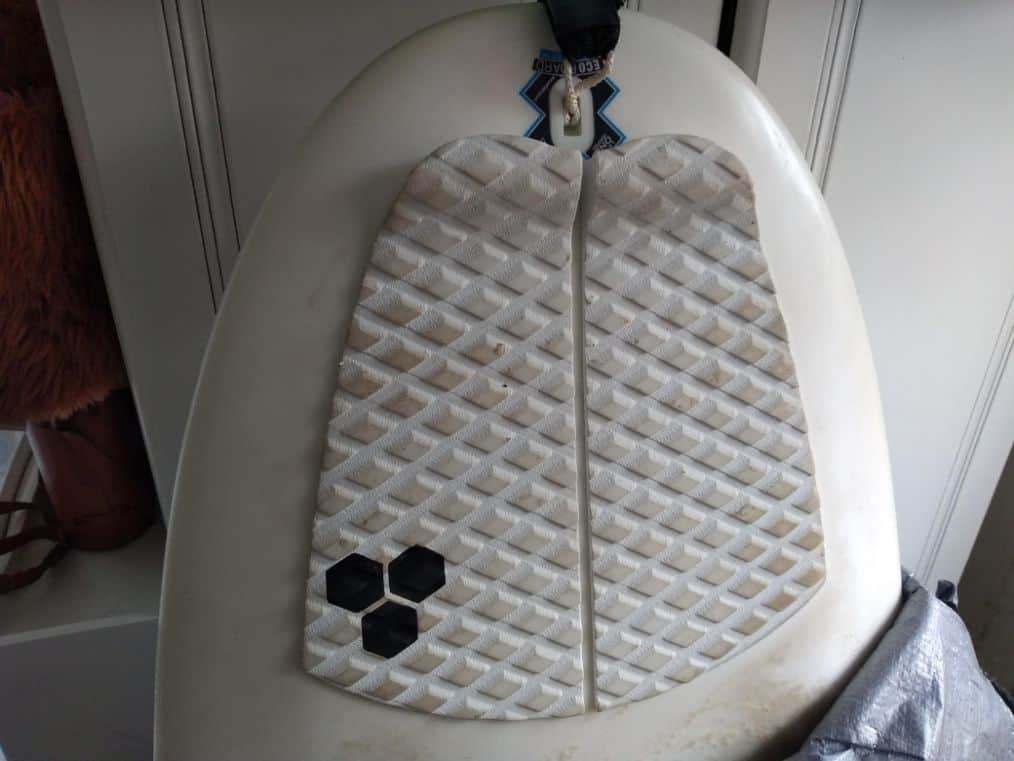
Multiple Pieces
You might find that your pad comes in multiple pieces of foam. If so, it’s really up to you whether you want to space them out a little or put them tight together.
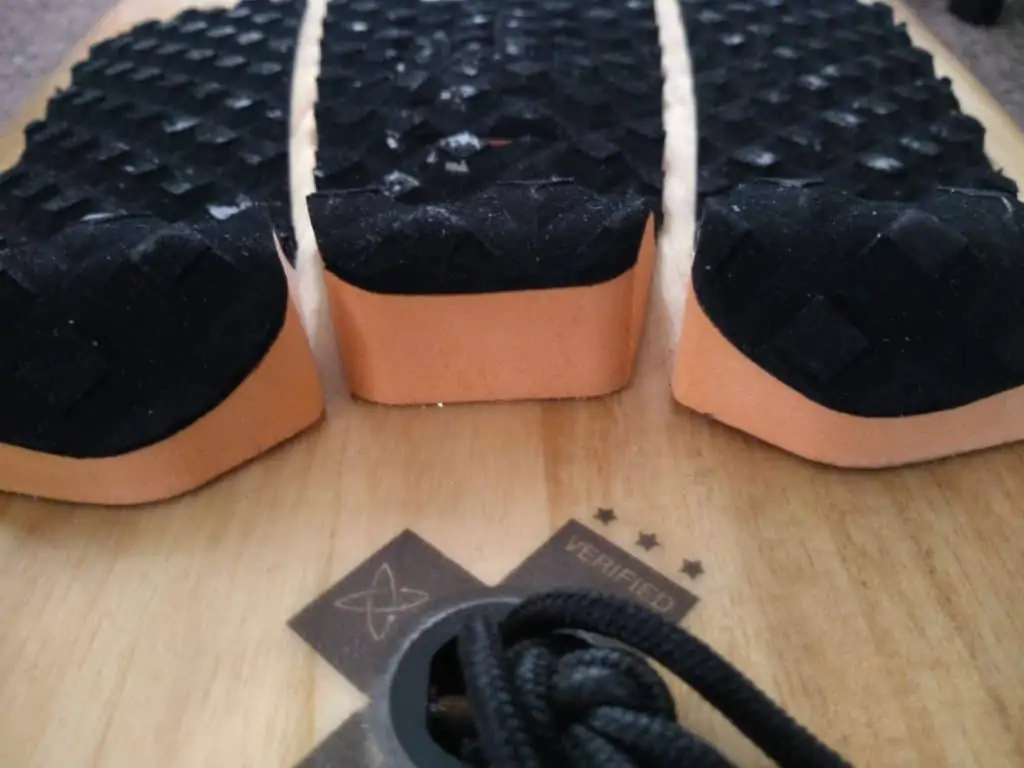
I’ve seen surfers do it both ways without any bother but I always for go for sticking them tightly together on my surfboards.
This is because I think that they last longer that way and perhaps have a bit more resistance to being pushed in different directions when there is another part next to them.
That said, I can’t prove any of that, it’s just on feeling so go with what feels sensible for you!
Rear Traction Pad Placement
The key points for placing your rear traction pad on your surfboard are the following:
- Place it over your fins
- Not too close to the leash
- Think about how far back to get best use out of the kick
Kelly Slater’s Traction Pad Placement Tips
In the video below, Kelly Slater shares some of his tips on placing a rear traction pad on his surfboard, especially helpful for boards without a visible stringer/center line to follow.
Essentially, Kelly keeps his pad in the packaging to put the central piece on, then aligns the outer pieces around this.
He alse likes to leave about a finger’s width between the panels on the traction pad but not more as it can feel a little strange.
Traction Pad Over the Fins
This is the most important part of placing your traction pad, or ‘stomp pad’ as some people call them.
You want to place a rear pad over the fins on your surfboard as this means that you will be able to turn your board properly.
If you do it any further forward, you risk trying to turn off a point that is too far forward. If you are trying to pivot off a point that is in front of the fins, you will find turning to be very difficult and feel awkward.
Not being able to turn your board properly will be frustrating and it’s really not easy to take a traction pad off, so if you place your pad too far forward it can ruin your surfing experience.
I know this one again from having learned the hard way. I bought an extra large tail pad because I thought it would allow me to practise my ‘tube’ stance (a strange idea as I was living in the UK with only mediocre waves nearby but hey ho).
For some reason, I placed the rear pad so that the kick was in front of the rear fin, rather than above. That was the start of my problems.
From there, I always struggled with turning on that board and it wasn’t until a few years later when I looked back at that board that I realized my mistake.
Don’t be foolish like me and put your rear traction pad back as far as you can!
Proximity to Leash Plug
Continuing on from the points above, you will also want to consider how close you place the back end of your rear pad to the leash plug.
This is because you need to allow room for the leash to work.
I’ve seen it before where people have placed the pad so close to the leash plug that it actually means that the leash is almost pulling through the rear of the pad when tight at certain angles.
This can not only bring the tail pad off the board, meaning you have to pull the rest of the traction pad off (slow and painful) and/or to buy a new pad (an annoying expense and process).
So, with this in mind, be sure to leave about half an inch (1.25cm) between the back of the rear traction pad and the leash plug.
This should mean that your pad is far enough back to work well for turns and also not get in the way of your leash when taught in certain directions.
If unsure, just place the pad on the board before gluing it and try pulling your leash at all angles.
The only exception might be with a fish or swallow tail surfboard (i.e. twin fins), where you could get a specific fish read traction pad.
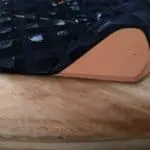
Kick at the Rear of a Traction Pad
Rear traction pads also have a raised ‘kick’ at the back, a little bit like a skateboard.
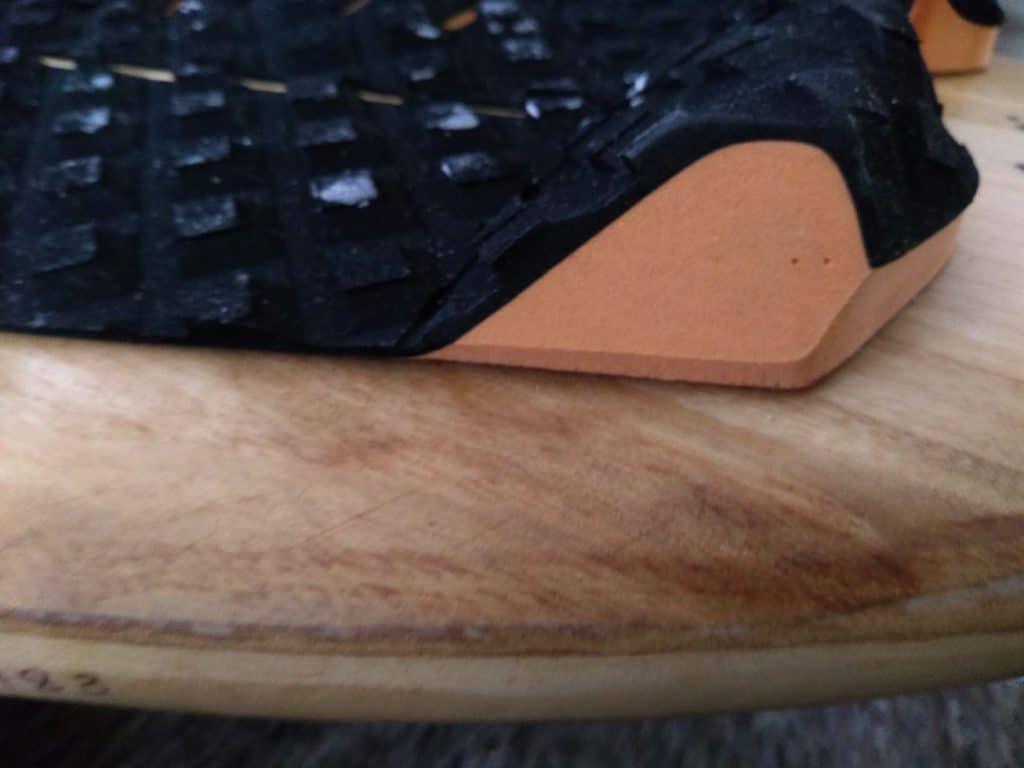
If you want to try airs, you might find that this helps as something to push against, although I cannot do airs so can’t really say much more on that subject!
If so, though, just think about how much kick you have and how to get some extra benefit out of it for such maneuvers.
I also find that I must use this to push back against during turns. I say that because, whenever I ride a shortboard without a rear pad, my foot tends to slip off the back through turns, because I’m used to pushing up against the kick!
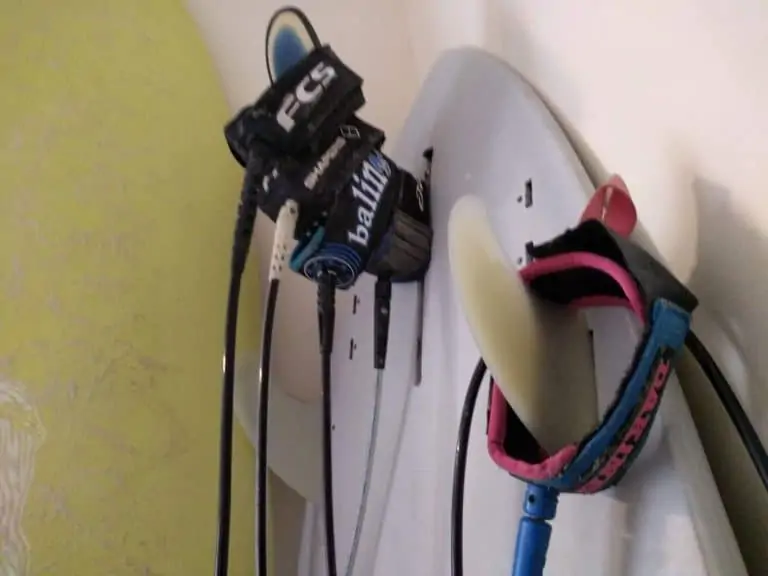
What to do if you put your traction pad over your leash plug?
Simply take out a pocket knife and cut around the leash plug. This is much easier than trying to unpeel your pad and, if not in completely the wrong place, can mean you can get away with slightly covering your leash plug, as per surf legend Rob Machado’s advice in the video below.
Front Traction Pad
Front traction pads were popular in the 80s and early 90s then dropped off the map, but have made something of a resurgence in recent years with the likes of Jamie O’Brien and many others using them on certain boards.
So, if you plan on adding a front traction pad to your surfboard, here are some specific points to consider for getting the positioning just right.
Front Foot Placement
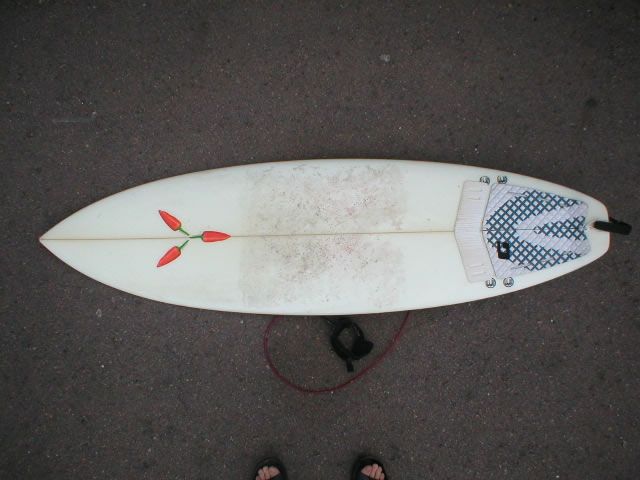
If you already have wax on your board and have used it, you should be able to see where your front foot normally goes and can use that space as the target area for your front traction pad (after you’ve cleaned it thoroughly!).
These kinds of pads are usually quite long from top to bottom so you have a bit of leeway in terms of placement and so shouldn’t have too many issues.
That said, there are still a few other points to think about in terms of the design of a front traction pad (like this Ho Stevie! one on Amazon) and its placement, as we’ll look at next.
Trip over on Take-off
You might find that your foot catches on the edge of the traction pad when taking off. This would be in the pop-up motion, when swinging your usual front foot forward.
This is likely more of an issue for those who wear booties in the colder months of the year. I say this from experience since my first surfboard was made in the early 90s and has full old-school ‘deck grip’ (as it was called!).
I found that the boot on my front foot could snag a little on the front pad, so bear this in mind.
As such, ideally look for a front pad with a super low-profile (in terms of depth), although I think the design has improved since then.
Chest
When paddling, you will also want to think about how your chest will be against the pad.
I say this in terms of moving up and down your board when climbing on and getting into a paddling position (will it catch/snag?) and also when paddling (does it have any potentially uncomfortable design features?).
If the design is a little bumpy then you might find it uncomfortable under your chest, so think about that when buying your pad.
Also remember that front pads are not for everyone, so you might just be better off without one if you think it will annoy you when trying to paddle!
Width
Think about the width of a front traction pad, too. This is because you might find that, if the edges are close to the rail, it could interfere with your take-off when you place your hands on the deck.
If your hands are half-on, half-off the edges of the front traction pad when popping up, it might also make you slip or just feel awkward, so gauge how wide any pad will be before buying.
Best Surfboard Traction Pads
As stated above, I recommend Da Kine traction pads as the best option. Some of their best surfboard traction pads on Amazon there are as follows:
- Superlite rear traction pad: an excellent and grippy rear pad that will work for mini mals or shortboards.
- Carissa Moore Pro Model rear traction pad: similar to the above but with bright pink, purples and whites for a snazzy burst of color.
- Front-foot traction pad: a front-foot pad made up of gold and black tiles, giving you freedom to choose where to place it.
- Best budget traction pads: Indepenent US-based brand Ho Stevie! offer the best budget traction pads. Run by a die-hard surfer with an independent feel, Ho Stevie! traction pads are high quality but with lower prices than some of the big brands, hence they come recommended here.
- The image below also shows some of the colours Ho Stevie! offer on Amazon.

Best of the Rest for Surfboard Traction Pads
As an extra traction pad buying tip, I generally always go for a traction pad from one of the main brands that make good leashes and board bags, which is a way to see if their gear will be good.
The following are some of the next-best traction pad options out there:
- Astro Deck: another quality brand, by surfing pioneer Herbie Fletcher
- FCS: solid, reliable products from an equally solid brand, probably the brand I own the most gear from in this list
- Channel Islands: started by surfboard shaper to the ‘Momentum Generation’ (think Kelly Slater and co.), also offering excellent traction pads
- Gorilla (Grip): Australian brand with a trusted reputation and great, colorful designs
Whichever pad you go for, place your pad on your surfboard properly and have fun!
Related Questions
Can you put a traction pad on a foam (or soft-top) board? No, you can’t put a traction pad on a foam board because the surface is not perfectly smooth, so your pad won’t stick properly. However, some foam boards come with a traction pad (think WaveStorm), so you can get one of these if needed.
Should you put a traction pad on a fish? Yes, you can definitely put a traction pad on a fish surfboard as it will help you with added grip through turns. Just be sure to get a rear pad that fits the tail of your board, with more on this covered earlier in this article.
If you have a retro fish or twin-fin surfboard with a massive swallowtail, you can get a dedicated traction pad, like this great one by Da Kine over on Amazon.